Generally, a factory reset on any networking device is done to fix the configuration, connectivity, or other issues. Likewise, Netgear is a well-known brand that offers highly advanced networking devices such as routers and range extenders. When you buy a new Netgear range booster, you must know How To Reset Netgear Extender and its basic configuration. So, this guide walks you through some essential steps to bring your device to the factory settings. Let’s give this guide a thorough read!
Detailed Process For the Netgear WiFi Extender Reset!
This is to say that sometimes it is necessary to factory reset your Netgear networking devices to give them a fresh start. Additionally, Resetting Netgear Extender helps to bring the device to its original settings by erasing its current settings.
However, a factory reset on your Netgear wireless extender gives you a clean state to set up your device again from the beginning. Hereon, you can configure your device as per your desired parameters. So, if you are curious to learn the ways to proceed with it, then quickly review the below sections:
How To Reset Netgear Extender Via Reset Button
- Initially, connect your Netgear range booster to the power supply.
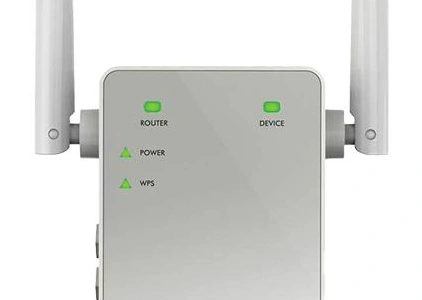
- Then, wait for the power LED to stop blinking and turn solid green or blue.
- Now, locate the Reset button on your range extender’s side or bottom panel.
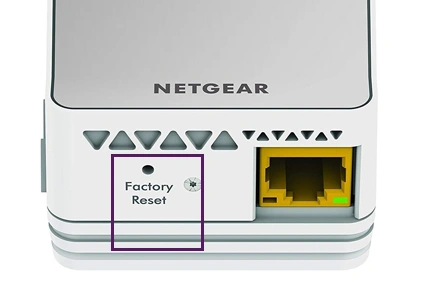
- Further, take a small pin or paperclip to press and hold this button.
- Hold till the power LED starts blinking. Usually, it takes 7-15 seconds.
- Release this button when the LED stops blinking and turns solid green or blue.
- Now, your range extender is reset and ready for the setup again.
- Finally, use the Nighthawk app or Netgear web GUI to reconfigure your device.
Netgear WiFi Extender Reset Through Web Interface
- To begin with, make sure your networking device has a sufficient power supply.
- Now, connect your Windows System to the existing wifi network.
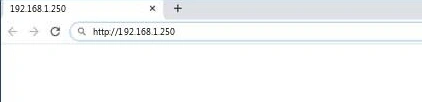
- Then, open a web browser and go to the mywifiext.net web address.
- You can also use the 192.168.1.250 IP address in the browser bar.
- After that, you reach the Netgear Genie setup wizard.
- Hereon, go to Settings and choose the Administration tab.
- Further, select Settings from the left-hand side menu.
- Then, navigate to the Other Settings and tap ‘Reset’ on this page.
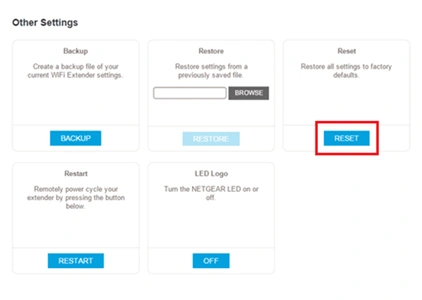
- Then, click on Yes to confirm the reset.
- Wait till your device erases all the customized settings.
- At last, your device is in a clean state. Now, reconfigure the Netgear extender again.
Note: If you want to Backup and Restore your Netgear extender settings, then you can do that from the Other Settings page.
Final Thoughts
At last, this brief post makes you familiar with the complete process of How To Reset Netgear Extender through simple steps. Moreover, you now know the three different ways to bring your device to its default settings.