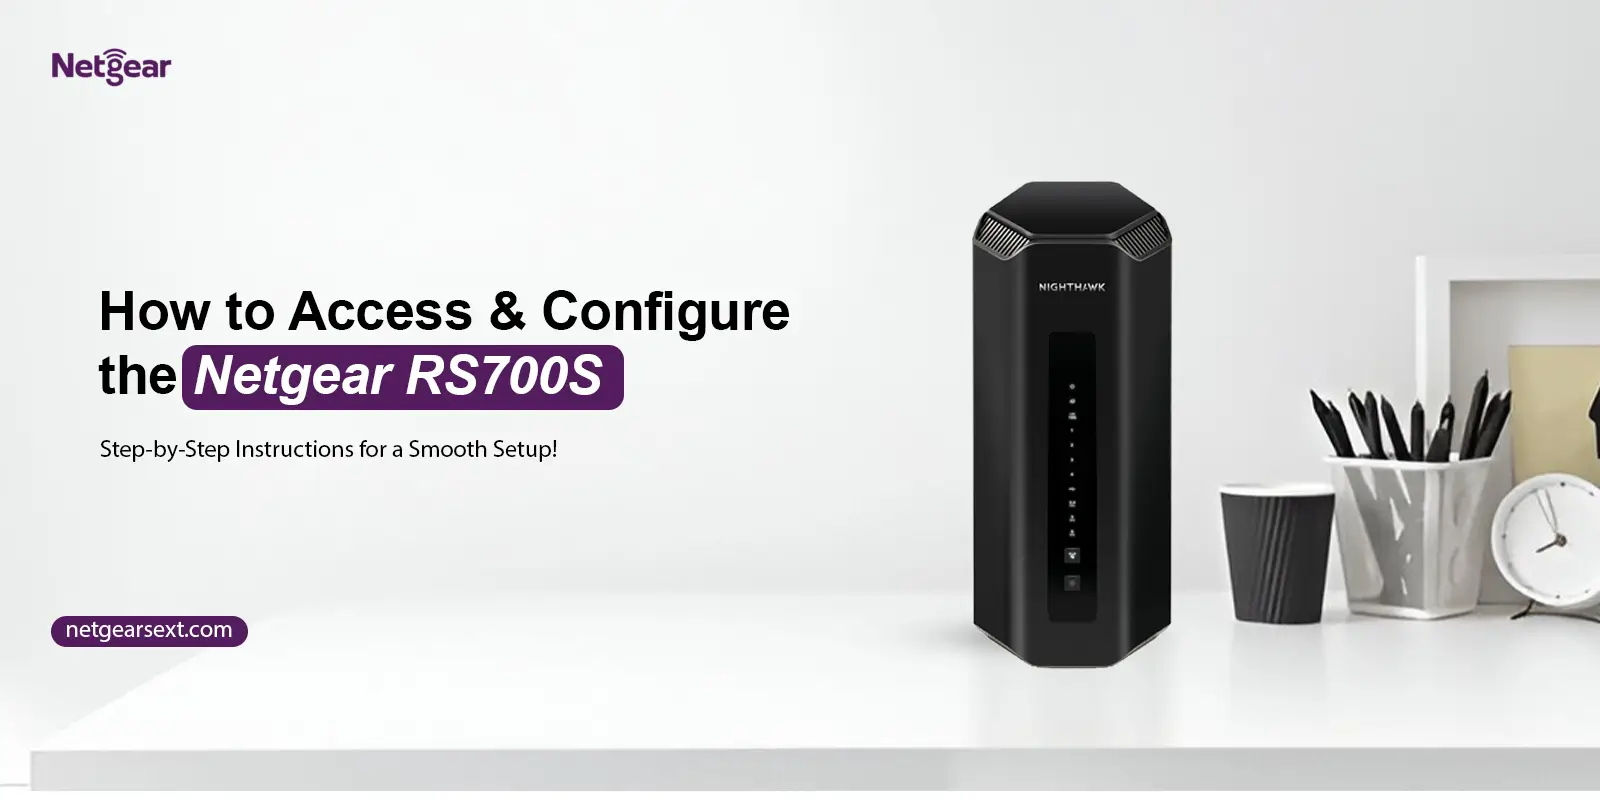
Netgear is one of the leading brands in the networking market, with a wide array of networking gadgets. These networking gadgets are built on the latest wifi 6 or 7 technology, offering seamless connectivity. Amongst different Netgear router models, the Netgear RS700S offers extremely high throughput and multi-gig performance, making it ideal for online gaming and video streaming. If you also have or planning to buy this device, then this guide is for you. Herein, you get all the relevant insights regarding this networking gateway, including its login and setup process. So, read this guide right away!
Installing the Netgear RS700S Router
To begin with, you need to install the Netgear Nighthawk RS700S WiFi 7 Router at a suitable location to ensure its optimal functioning. For that, unpack your device and install it using screws or anchors at a suitable location, where it broadcasts the maximum signals.
Further, secure the physical or wireless connections to activate your device. After that, plug the ethernet cable into the modem and router’s yellow port to establish wired connections. Otherwise, use the default wifi name and password mentioned on the label to wirelessly connect your devices.
After that, connect the power adapter to the router and the wall socket to activate it. Now, wait for the power LED to turn on and then your router is ready to use. After that, opt for the suitable method to log in and configure your device. Dive into the next sections for the same.
Logging Into the Netgear Nighthawk RS700S
If you want to make the most of the Netgear RS700S, then, login is the preliminary step. Therefore, follow the below-given instructions to log into the RS700S dashboard:
- Firstly, make sure your Netgear gaming router is activated and the power LED is lit.
- Then, connect your computer to Netgear’s default wifi network.
- Now, launch a web browser on your wifi-enabled computer or laptop.
- Then, enter the routerlogin.net web address or 192.168.1.1 IP address in the URL bar.
- After that, you reach the login page of the Nighthawk router.
- Hereon, fill in your default username and password and tap ‘Login’.
- Finally, you are logged into the Nighthawk RS700S setup wizard.
How to Configure the Netgear Nighthawk RS700S WiFi 7 Router?
Since you are now visiting the home dashboard of the Nighthawk RS700S router. If you want to configure the further settings as per your preferences, then read the below stepwise instructions:
- Initially, ensure that you’re receiving adequate wifi signals.
- Then, log into the Nighthawk home dashboard via routerlogin.net web GUI.
- After that, you reach the basic home page of the router.
- Now, select the Wireless tab and the wireless setup page opens.
- Then, enter a new name in the network name (SSID) field.
- Further, tap ‘Apply’ to save the changes.
- Similarly, navigate to the ‘Password’ field and enter a preferred password.
- Select the WPA2-PSK security option to secure your wifi network.
- Further, visit other settings such as Internet Settings, Access Control, Security, etc. to configure your router accordingly.
- At last, save all the settings to apply the changes.
On the Whole
To sum up, this brief guide is a complete source to gain insights regarding the Netgear RS700S wireless router. Initially, we highlighted the router installation, login, and then configuration of the RS700S wifi router. This guide will help Netgear users to access and use their devices seamlessly.